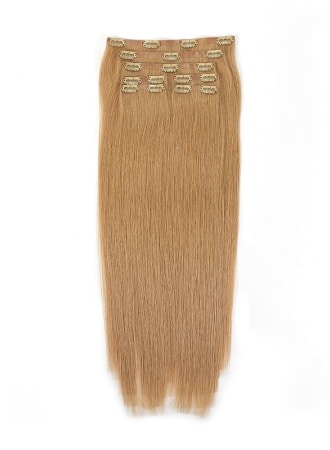
Clip In Hair Extensions are one of the most popular and simple hair extensions in daily wearing. It is very import to know how to install the clip ins in correct way. Now follow me to do Below steps.
Preparation
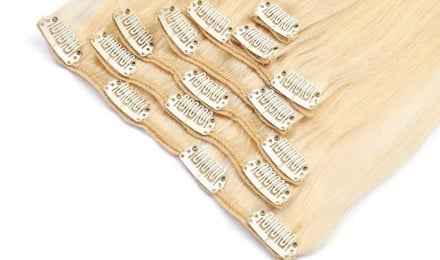
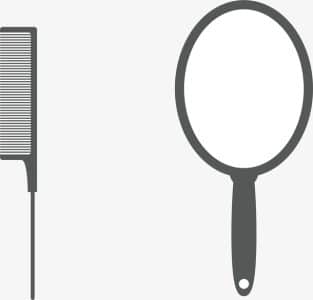
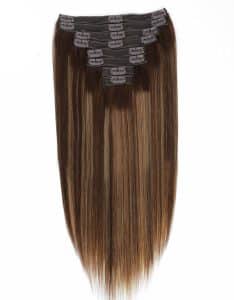
Tools: comb, clip-in hair extensions, mirror, and hair clips.
Steps
1. Begin by combing your hair thoroughly to ensure there are no knots or tangles. Use the comb to separate a small section of hair from the top of your head and secure it with a hair clip.
2. Open the clip-in hair extensions and make sure all the clips are undone. Take one clip-in extension and position it horizontally on top of the separated section of hair. Bend the top part of the clip in a counter-clockwise direction and press it down onto the hair.
3. Bend the bottom part of the clip in a clockwise direction and firmly press it down to secure the extension in place.
Repeat The Process
Move on to the next section of hair and repeat the steps, gradually installing the clip-in extensions to the desired areas for added length or thickness. Make sure to distribute the extensions evenly for a natural look.
Check The Placement
Once you have installed all the extensions, check that all the clips are securely attached to your hair. Use a mirror to inspect your hairstyle from different angles. If needed, use the comb to blend your natural hair with the extensions for a seamless and natural look.

In the end, before installing clip-in hair extensions, ensure that your hair is dry and clean. Also, customize the length and color of the extensions according to your preference. If you’re unfamiliar with the process, it’s recommended to seek assistance from a professional hairstylist.